In our last blog, we explored the preliminary thinking in building a new driving simulation environments using AVSimulation’s SCANeR UXD Engine. In this blog, we progress to the next critical stage – actually creating the model of the route.
Modelling the route
Once the requirements are defined and we have designed the route we need, it is time to start modelling that route. The art of creating great looking 3D models and environments is a vast topic that universities teach degrees on so is somewhat beyond the scope of this article. However, it is worth mentioning some of the great resources that exist to help with this. Firstly, there are resources such as:
- Adobe Substance 3D assets library where you can find thousands of 3D models along with a huge number of PBR materials that can be used or customized for use on your own models.
- Quixel Megascans, which again contains thousands of great looking 3D models ready to use.
…And of course there is the Unreal Marketplace as well.
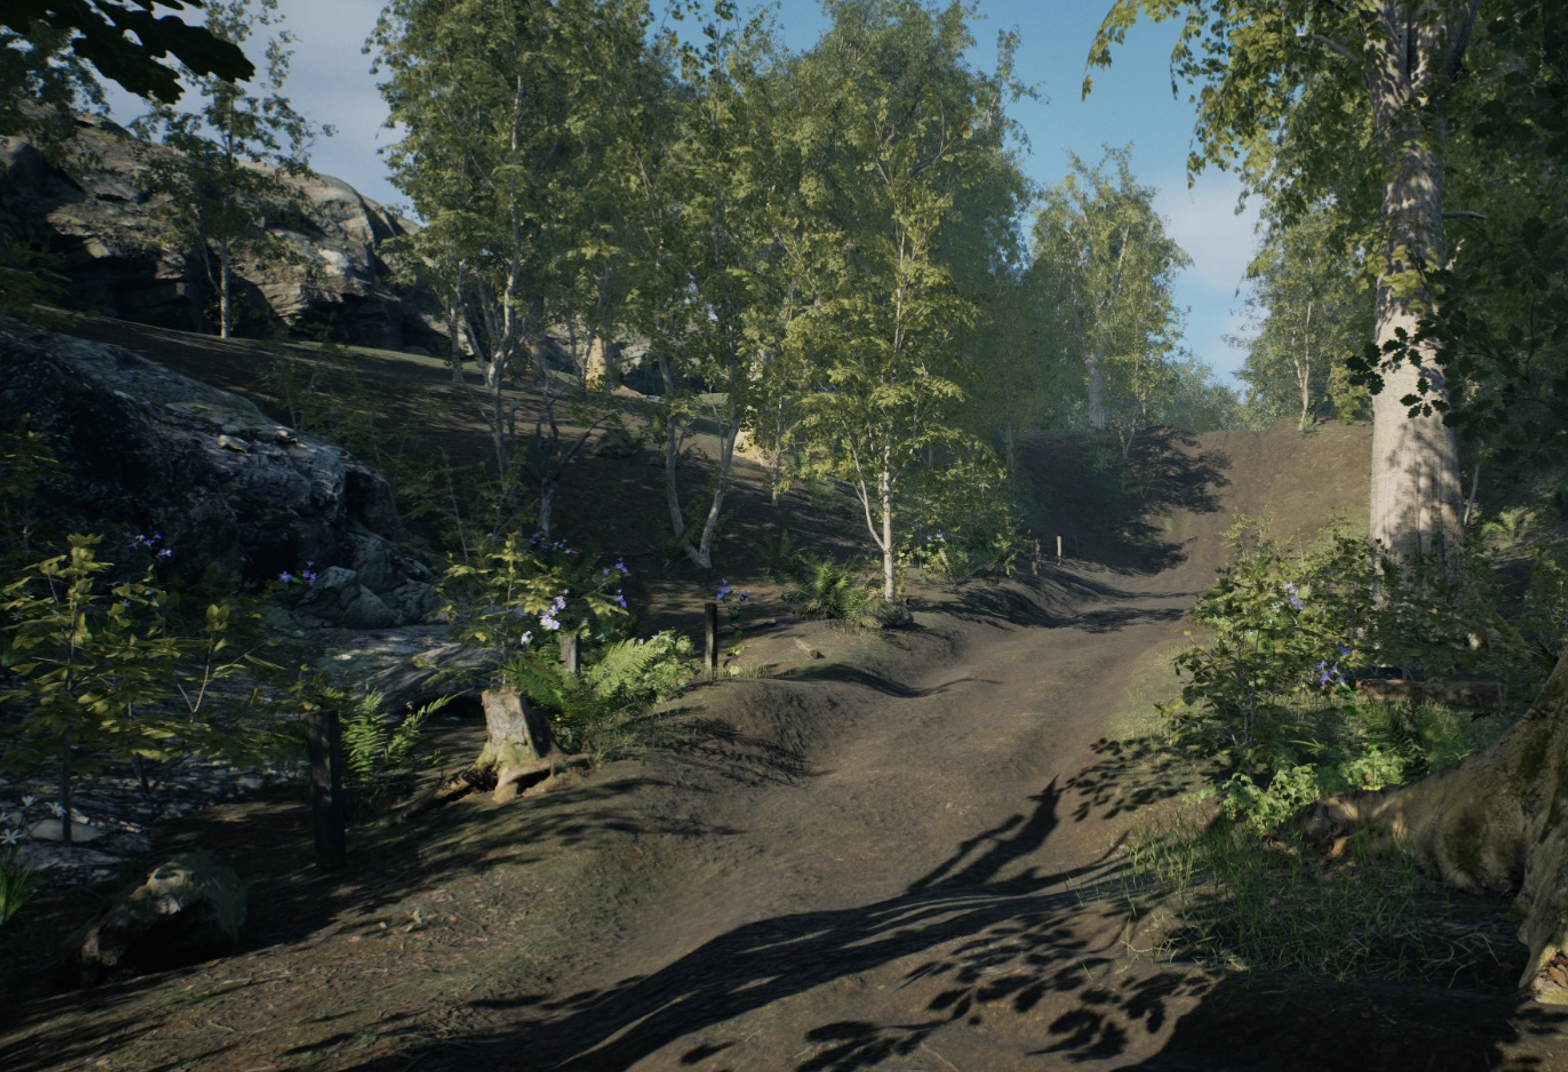
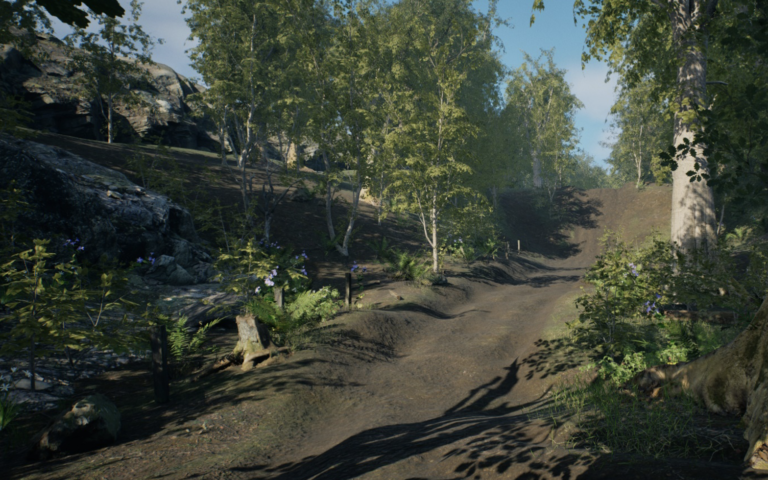
Technically, using these resources it can be entirely possible to create a great looking off-road 3D environment without actually needing to use a 3D modelling tool or creating any new 3D content. Our artists use the terrain tools within Unreal Engine to carve out our terrain surface and then paint on ground surface materials. The foliage tools available inside Unreal Engine are perfect for planting trees, bushes, grasses and other foliage as desired.
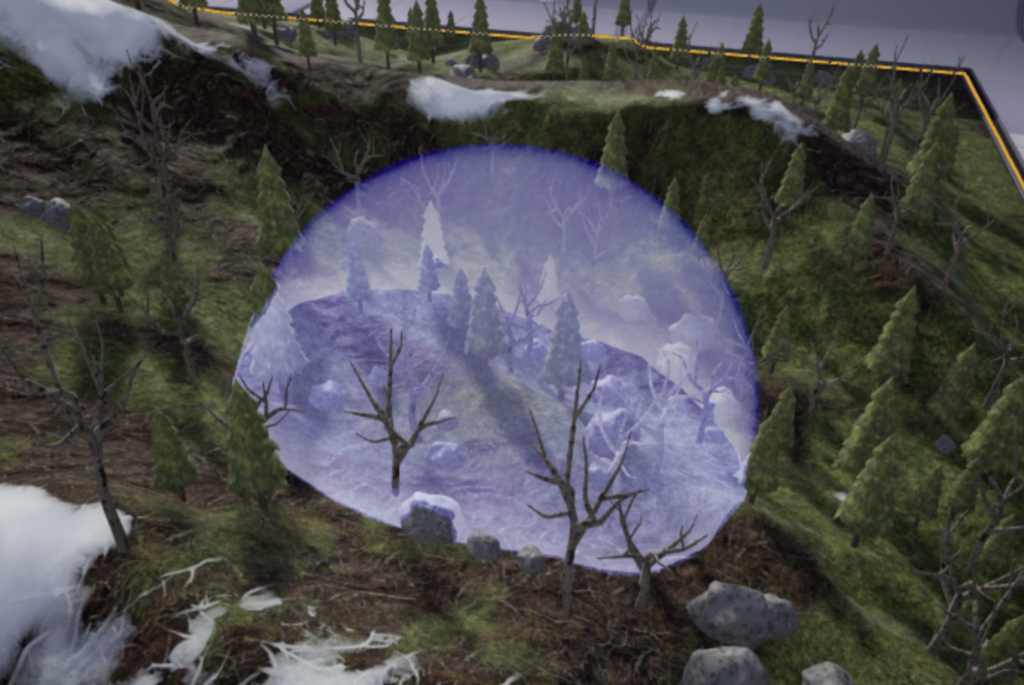
Image courtesy of Epic Games
We might want to add pebbles, rocks tree-roots and other items to our scene. This is where megascans assets can really help out.
Of course, it is one thing being able to “technically” create an off-road 3D scene, but to create an interesting and believable one takes a level of artistry and some knowledge of real off-road driving environments. A large part of our process when developing any sort of simulation 3D environment is research by our dedicated art team to understand what real world environments are like, what features and characteristics they have and what makes them look the way they do.
It is important to consider performance. Our artists are always careful not to throw too much in a scene and we frequently check what framerates we are getting at our target rendering resolution. Rich thick grass can look great, but it takes a lot to render it, so it is important to be careful. To achieve adequate performance we also configure levels of detail (LOD) for all elements in the scene, configure Unreal to not render objects that are hidden from view, and limit dynamic objects, lights and shadows to those that really add to the visuals.
One thing to note is that the SCANeR UXD Template already contains lighting, atmospheric, weather and a player controller so we should not add these. If we did, they would conflict with the UXD Engine.
Next blog in the series
In the next blog in this series, we’ll cover off what happens once you’ve got your scene looking great in Unreal Engine and it’s time to get it working with SCANeR.
Talk to us about SCANeR, simulation, and more
This blog post was written by David Turner, Agility3 Business Director and driving simulator enthusiast. If you would like more information on Agility3 or on anything in this article please contact David on +44 (0)1438 488036 or david.turner@agility3.co.uk.
For more information on SCANeR Studio please contact AVSimulation on +33 1 4694 9780 or contact@avsimulation.fr.


